
이 포스팅에서는 구글클라우드 시작을 다룬다.
회원가입 과정은 생략, 새프로젝트에서 SSH 브라우저에서 열기까지의 과정을 설명한다.
Step 01. 새프로젝트 생성
https://console.cloud.google.com/
Google 클라우드 플랫폼
로그인 Google 클라우드 플랫폼으로 이동
accounts.google.com

메인화면 상단에서 새 프로젝트를 생성한다.


사용자가 원하는 이름을 삽입 후 만들기를 클릭한다.
Step 02. VM 인스턴스 생성
새프로젝트 생성 후, VM 인스턴스를 생성한다.


부팅 디스크 변경 클릭

만들기 버튼으로 생성한다.
Step 03. 방화벽 규칙 설정
VM 인스턴스 생성 후 방화벽 규칙을 설정해준다.


소스 Ipv4 : 0.0.0.0/0 으로 입력 후
만들기 버튼 눌러서 잘 생성되었는지 확인한다.
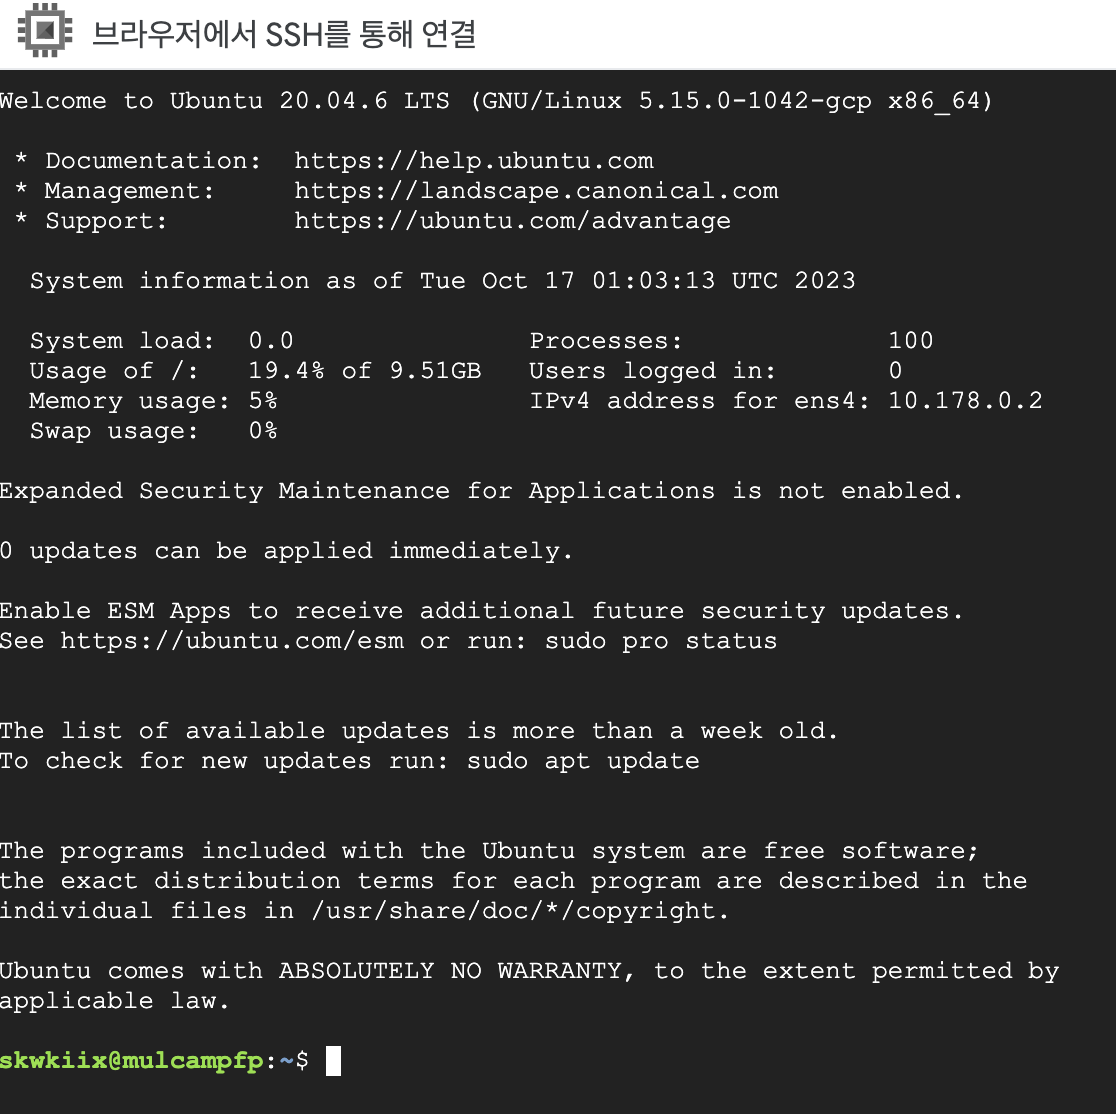
Step 04. VM 인스턴스 SSH 브라우저에서 열기
생성한 VM 인스턴스로 이동하여 브라우저 창에서 열기를 클릭한다.

생성한 VM 인스턴스로 이동하여 브라우저 창에서 열기를 클릭한다.
Step 5. 라이브러리 설치
미니콘다 설치
https://docs.conda.io/projects/miniconda/en/latest/
Miniconda — miniconda documentation
These three commands quickly and quietly install the latest 64-bit version of the installer and then clean up after themselves. To install a different version or architecture of Miniconda for Windows, change the name of the .exe installer in the curl comma
docs.conda.io

미니콘다 설치 명령어
mkdir -p ~/miniconda3
wget https://repo.anaconda.com/miniconda/Miniconda3-latest-Linux-x86_64.sh -O ~/miniconda3/miniconda.sh
bash ~/miniconda3/miniconda.sh -b -u -p ~/miniconda3
rm -rf ~/miniconda3/miniconda.sh
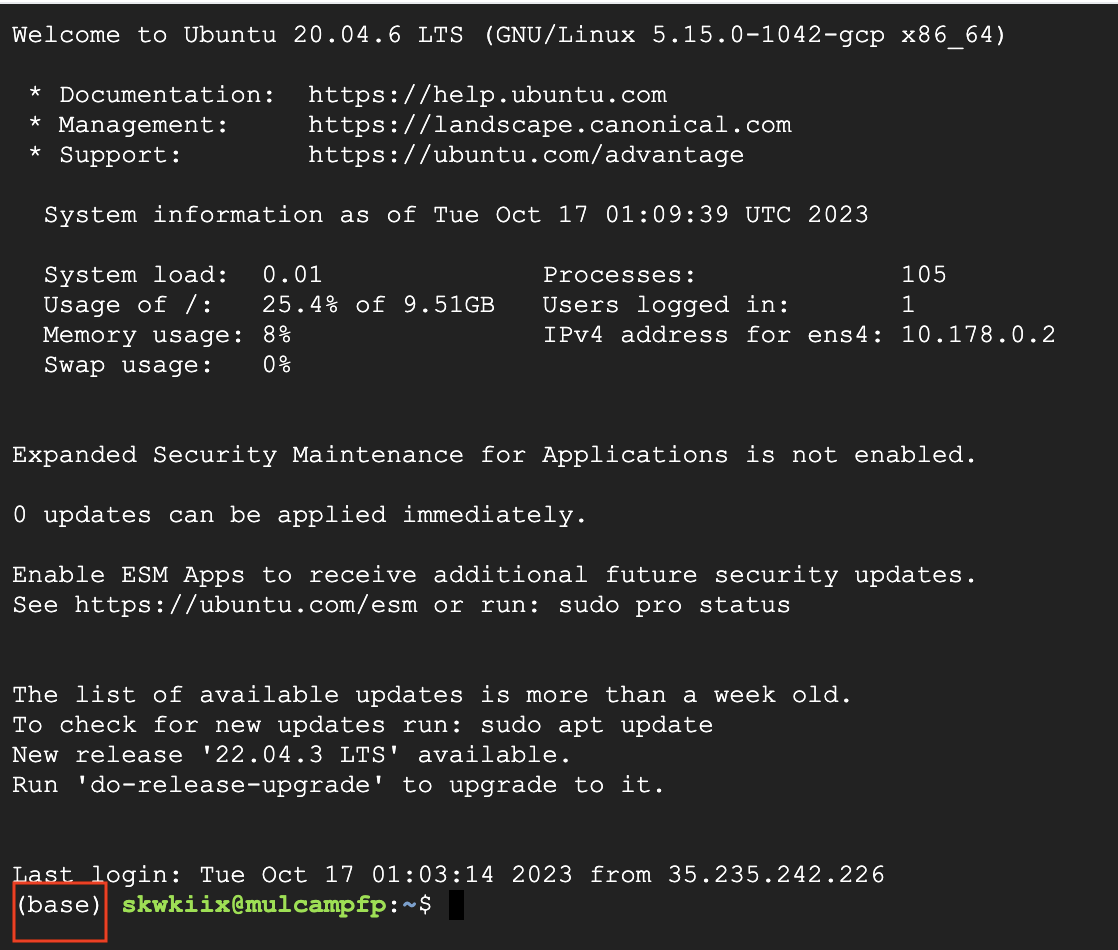
설치 후 다음 명령어를 입력해준다.
~/miniconda3/bin/conda init bash
~/miniconda3/bin/conda init zsh
브라우저 재실행 후 아래의 (base)가 뜨는 것을 확인
'Cloud' 카테고리의 다른 글
| GCP 빅쿼리 Locker 연동하기 (0) | 2023.10.25 |
|---|---|
| Google Cloud 라이브러리 설치, 환경변수 세팅 (0) | 2023.10.17 |
| [AWS] AWS EC2 접속 (with pem) (1) | 2023.10.16 |


